Running a small business, especially from a home office, often means juggling multiple tasks across different computers. Whether it’s financial records, marketing materials, or client files, quick and easy access to your documents on any workstation can be a game-changer for productivity. This guide will walk you through setting up efficient file sharing between your computers on the same network, helping you save time and work smarter.
Why Network File Sharing Matters for Your Business
Imagine this: you’re working on a report on your desktop, but need to quickly grab some data from a spreadsheet saved on your laptop. Without a network, you’d be emailing files to yourself, using USB drives, or even worse, re-creating work. Network file sharing eliminates these time-wasting steps, allowing instant access to shared documents from any connected computer. This is crucial for:
- Seamless Collaboration: Multiple team members (even if it’s just you and a virtual assistant) can access and work on the same files.
- Centralized Data: Keep important documents in one accessible location, reducing duplication and version control issues.
- Efficiency: No more hunting for files or transferring them manually. Everything is just a few clicks away.
Step-by-Step Guide to Setting Up File Sharing
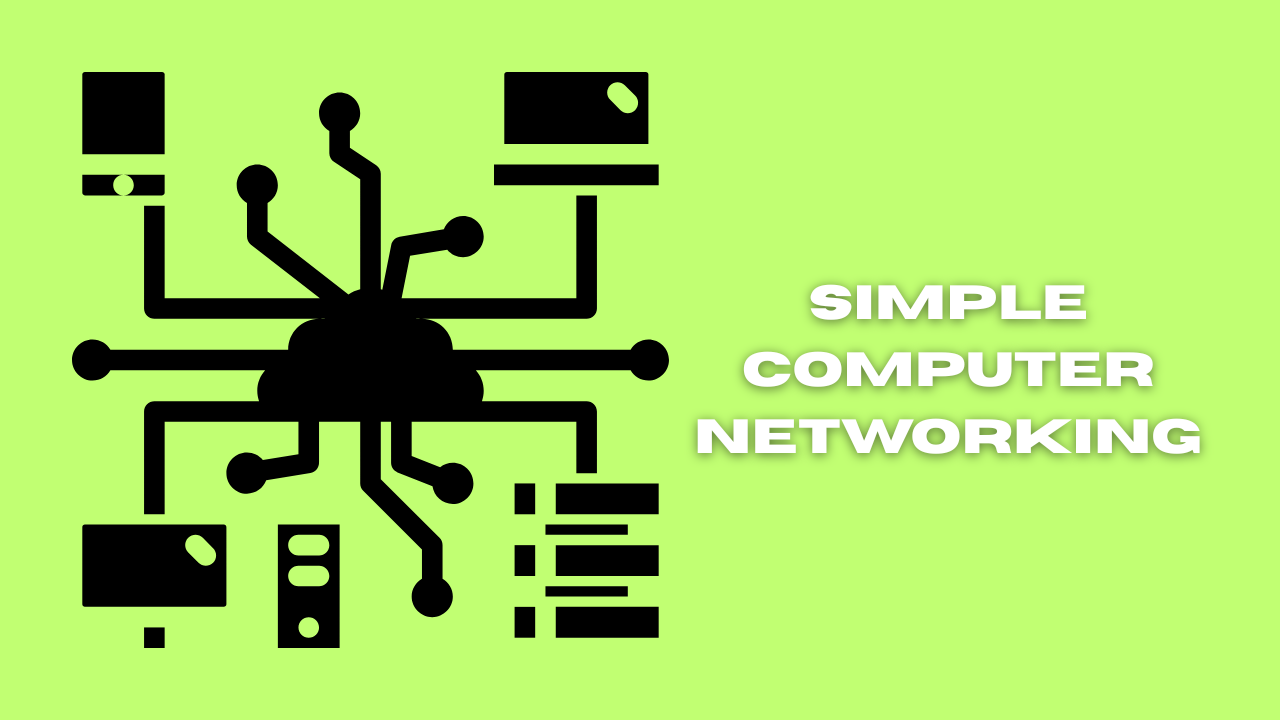
Let’s get your computers talking to each other! These steps are generally applicable for Windows machines, which are common in small business setups.
1. Confirm Your Computers Are on the Same Network 🌐
This is the foundation of network sharing. All computers you wish to connect must be linked to the same Wi-Fi router or wired network.
- How to Check:
- Hover over the Wi-Fi icon (or network icon for wired connections) in your system tray (bottom right of your screen).
- Verify that all computers are connected to the exact same network name (SSID).
2. Set Your Network Profile to “Private” 🔒
Windows uses network profiles to determine how much trust to place in a network. For your home or small office network, “Private” is the go-to setting as it allows discovery and sharing.
- How to Set:
- Go to Settings (Windows Key + I).
- Click on Network & Internet.
- Select Wi-Fi (or Ethernet if wired).
- Click on the name of your connected network.
- Under “Network profile,” ensure Private is selected.
- Repeat this on all computers you intend to network.
3. Enable Network Discovery and File Sharing 🤝
These crucial settings allow your computers to see each other and share files.
- How to Enable:
- Go to Settings (Windows Key + I).
- Click on “Advanced Network Settings.”
- Click on “Advanced Sharing Settings.”
- Expand the “Private (current profile)” section.
- Select “Turn on network discovery.”
- Select “Turn on file and printer sharing.”
- For enhanced security, scroll down to “All Networks” and select “Turn on password protected sharing.” This is a critical step for a small business as it ensures that only users with a valid username and password on the network can access shared files. This protects your data from unauthorized access, even from other devices that may accidentally connect to your network.
4. Access Shared Files from Other Computers 🖥️↔️🖥️
Now for the payoff! You can now easily access these shared folders.
- How to Access:
- On another networked computer, open File Explorer.
- Click on “Network” in the left-hand navigation pane.
- You should see the names of the other computers on your network listed.
- Double-click on the computer hosting the shared folder.
- Enter the Network Credentials (User Name & Password) for the computer you are trying to access.
- You’ll see the shared folders available for access.
ADVANCED TIP: Verifying User Accounts with ‘netplwiz’
For advanced users or when troubleshooting access issues, netplwiz can be helpful to see user accounts.
- How to Use:
- Press Windows Key + R to open the Run dialog.
- Type
netplwizand press Enter. - This window shows the user accounts configured on that specific computer. Understanding these can help when setting specific sharing permissions.
Security Best Practices for Your Network 🛡️
While convenient, networking requires an awareness of security. For your small business, consider these points:
- Strong Passwords: Ensure all user accounts on your computers have strong, unique passwords.
- Up-to-Date Software: Keep your Windows operating system, antivirus software, and all applications updated. Updates often include critical security patches.
- Firewall Protection: Your Windows Firewall should be active. It helps block unauthorized access.
- Guest Account Disabled: Ensure the “Guest” account is disabled on all computers, as it often has limited security.
- Selective Sharing: Only share folders that absolutely need to be shared. Avoid sharing your entire C: drive.
- Password Protected Sharing: To protect highly sensitive data, create specific user accounts with unique passwords for access.
Conclusion
By following these steps, you can transform how your small business handles files, moving from a disconnected chaos to a streamlined, productive environment. Effortless file sharing means less time managing documents and more time focusing on what truly matters: growing your business. Get your computers connected today and experience the boost in efficiency!